


In this article, we're going to learn about the basic CSS Selectors.
CSS Selectors are just to select the element that you want to style. There are several different types of selectors in CSS.
CSS Element Selector
Class Id Selector
CSS Class Selector
CSS Universal Selector
CSS Group Selector
CSS Attribute Selector
Child Selector
General Sibling Selector
Adjacent Sibling Selector
Descendant Selector
CSS Element Selector
An element selector will select the HTML element by name. Let's understand by an example. Let's say we want to style a paragraph on our HTML page:
<h5>Paragraph Element will be affected</h5>
<p>All About Element Selector</p>
Using CSS we can select the paragraph element, and style it however we like. Let's say we want to give the text a red color. we can do this by targetting the element using the p selector.
p{
color: red;
text-align:center
}
Output:
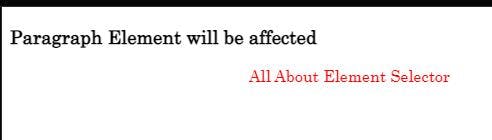 Note that this will affect all the P tags on the page. So if we have multiple paragraphs they'd all change to red.
Class Id Selector
The id selector selects the id attribute of an HTML element to select a specific element. An id is always unique within the page. In CSS, we use the hash (#) symbol to denote an id. Lets see an example using a Id selector.
<p id="city">
  New Delhi
</p>
<p>This Paragraph will not be affected</p>

<style>
#city {
  color: red;
}
Output:

CSS Class Selector
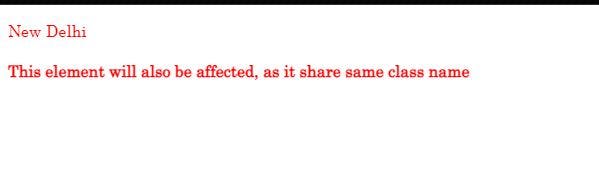
The class selector selects the class attribute of the specific element. It is similar to the id selector, however, there is a difference. In class selector, we use the (.) symbol to denote a class. The same class value can be repeated across multiple elements within a page which will share the same CSS styles. Let's see an example:
<p class="city">
  New Delhi
</p>
<h4 class="city">
This element will also be affected, as it shares the same class name
</p>

<style>
.city{
color: red;
}
Output:
CSS Universal Selector
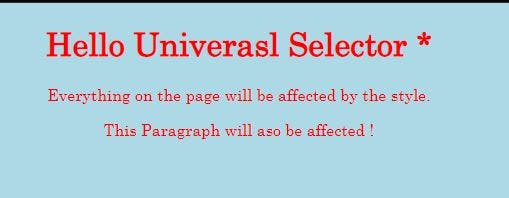
The universal selector selects all the elements on the page. It is denoted using *.
The following will set background-colorand color of all the elements on the page.
<h1>Hello Univerasl Selector *</h1>
<p>Everything on the page will be affected by the style.</p>
<p>This Paragraph will also be affected !</p>

<style>
* {
  color: red;
  text-align:center;
  background-color: lightblue;
}
Output:
CSS Group Selector
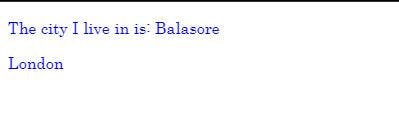
When we want to style multiple elements with the same style, we can use a group selector. This results in reducing of extra code which shares common styles. We do this by separating with a comma. For example:
<p>
  The city I live in is: Balasore
</p>
<span class="city">
  London
</span>
p, .city {
  color: blue;
}
So, here we're grouping both p and span elements together.
Output:
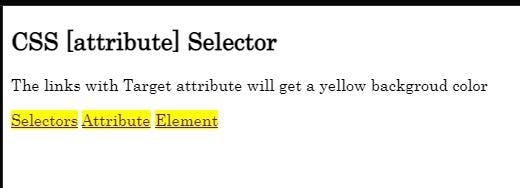
CSS Attribute Selector
These are used to select the elements based on the given attributes or values.
Eg: Here all the a tags are selected with a for attribute
<h2>CSS [attribute] Selector</h2>
<p>The links with the Target attribute will get a yellow background color</p>

<a href="" for="z">Selectors</a>
<a href="" for="x">Attribute</a>
<a href="" for="y">Element</a>

<style>
a[for] {
  background-color:yellow
}
Output:
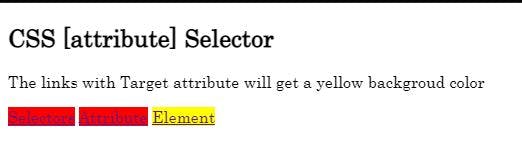
 we can be more specific with the attributes such as by using ^ we can select all the elements starting with a given attribute, also if we use $ this will select all the elements ending with specified elements.
Lets see both the condition with an example
we can be more specific with the attributes such as by using ^ we can select all the elements starting with a given attribute, also if we use $ this will select all the elements ending with specified elements.
Lets see both the condition with an example
<h2>CSS [attribute] Selector</h2>
<p>The links with the Target attribute will get a yellow background color</p>

<a href="http://www.google.com" class="top-header" for="z">Selectors</a>
<a href="" class="top-text" for="x">Attribute</a>
<a href="" for="y">Element</a>

<style>
[class^="top"] {
  background-color:red;
}
[class$="button"] {
  background-color:yellow;
}
Note, All the elements having a class value that begins with "top" are affected by the background color red, and elements having a class value that ends with "button" are affected by the color yellow.
Output:
Child Selector
The child selector selects the direct children of a particular element. Take a look at the HTML and CSS below.
<div class="outer-container">
  <p>First Paragraph</p>
  <div class="inner-container">
    <p>Second Paragraph</p>
  </div>
  <p>Third Paragraph</p>
</div>

<style>
.outer-container > p {
  color: red;
}
Output:
 Since
Since>selects the immediate child of the outer-container div, only the first and third paragraphs will have a color of red (See result above). The second paragraph will still have its default color since it is not an immediate descendant of the outer-container div.
General Sibling Selector (~)
This selector looks for all siblings that share the same parent with it.
<div class="outer-container">
  <p>First Paragraph</p>
  <p>Second Paragraph</p>
  <h1>First Heading</h1>
  <div>
    <p>Third Paragraph</p>
  </div>
  <p>Fourth Paragraph</p>
   <p>Fift Paragraph</p>
  <h1>Second Heading</h1>
</div>

<style>
p~p {
 color: red;
}
output:
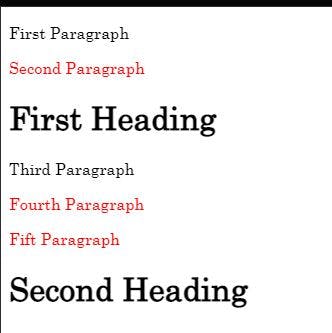 ~ selects all p elements that are siblings to itself. Since the second, fourth, and fifth paragraphs are their sibling, they are selected and it will cause the text to turn red. (See result above )
Adjacent Sibling Selector (+)
The adjacent sibling selector uses the plus (+) symbol. It targets element(s) that is a direct sibling to themselves and shares the same parent with themselves. It is similar to the general sibling selector but the difference is that the second/sibling element has to directly follow the first element.
<div class="outer-container">
  <p>First Paragraph</p>
  <p>Second Paragraph</p>
  <h1>First Heading</h1>
  <div>
    <p>Third Paragraph</p>
  </div>
  <p>Fourth Paragraph</p>
  <h1>Second Heading</h1>
</div>

<style>
p+p {
  color: red;
}
Output:
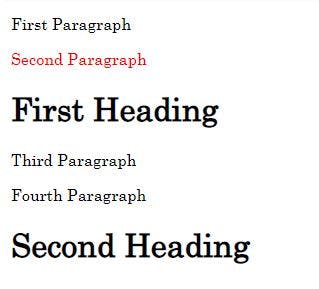 The CSS will target only the second paragraph. This is because the second paragraph is a direct sibling of the first paragraph and they share the same parent.
Descendant Selector
The descendant selector is usually just the space between CSS Selectors.
A B — Selects elements matching B that are descendants of A.
<div class="outer-container">
  <p>First Paragraph</p>
  <p>Second Paragraph</p>
  <h1>First Heading</h1>
  <div>
    <p>Third Paragraph</p>
  </div>
  <p>Fourth Paragraph</p>
  <h1>Second Heading</h1>
</div>

<Style>
div p {
  color: red
}
Output:
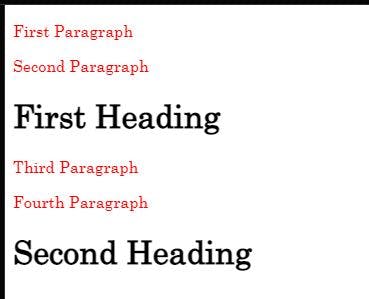
The CSS properties are applied to all paragraph elements that are direct descendants of the DIV element.
This was all about CSS Selectors. Thanks for reading.